Bought too much at the market and worried it will wilt? Here is how to freeze fresh produce: wash, blanch most vegetables, cool, dry, pack airtight, and keep the freezer at 0°F.
This guide is part of our seasonal eating guide.
| Item | Value |
|---|---|
| Freezer temperature | 0°F or lower |
| Blanching water | One gallon per pound of prepared vegetables |
| Steam blanching time | About 1½ times longer than water blanching |
| Cooling time after blanching | Same as the blanching time |
| Green beans, blanching time | 3 minutes |
These figures come from the National Center for Home Food Preservation and a Utah State University Extension page. Guidance can change, so check the source before you rely on the numbers.
Why freezing works best at peak ripeness
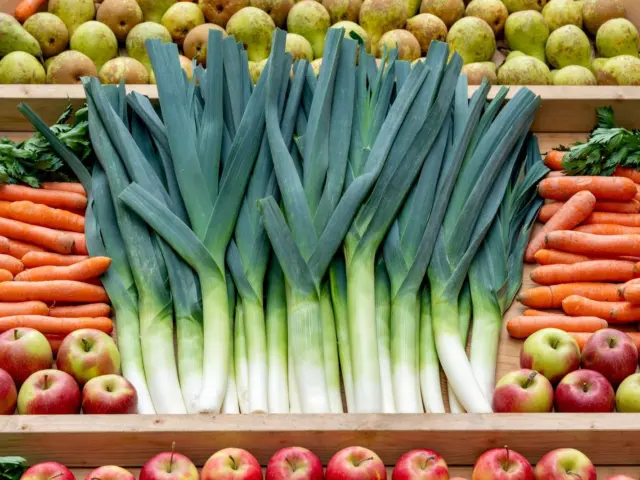
Freezing pauses time, but it cannot improve what goes in. Produce that is fresh, firm and in season goes into the freezer with the most flavour, so the market stall you visit this week is the best place to start.
Ask the seller when the produce was picked. Choose produce in good condition and freeze it promptly to preserve its quality.
Plan your portions too. Think about how many people you cook for, and freeze in amounts you will use in one meal. Thawing a huge bag for one dinner wastes food and tempts you to refreeze it, which damages quality.
If you are choosing what to buy, our seasonal produce calendar shows what tends to be abundant and cheap at different times of year. Gluts are the ideal moment to freeze, because you pay less and the produce is at its best.
Freezing also fits the logic behind the benefits of eating seasonal produce: you carry a summer harvest into winter instead of buying out-of-season items later.
How to freeze fresh produce: prepare it first
Good freezing starts at the sink and chopping board. Careful preparation helps preserve green beans’ quality during freezing and storage.
- Choose produce that is ripe but not overripe, and freeze it soon after buying.
- Wash it well under cool running water.
- Trim, peel, core or cut it into even pieces, so everything cooks and freezes at the same rate.
- Blanch vegetables that need it (see below).
- Dry thoroughly before packing.
Even sizes matter most. A small stalk and a thick stalk need different blanching times, so sort by size before you start.
Blanching: an important step for most vegetables
The National Center for Home Food Preservation says blanching is a must for almost all vegetables to be frozen, because it stops enzyme actions that cause loss of flavour, colour and texture. In practice, it means a short dip in boiling water, then straight into cold water.
For home freezing, boiling water is the most satisfactory method. Use one gallon of water per pound of prepared vegetables, and start counting once the water returns to a boil.
Timing examples
- Green, snap or wax beans: 3 minutes.
- Asparagus: 2 minutes for small stalks, 3 for medium and 4 for large.
- For steam blanching, use the vegetable-specific steam time in the NCHFP chart.
Chill the vegetables for the same length of time as the blanch, using ice water, then drain thoroughly. Pat or spin the drained vegetables dry before packing to help preserve quality.
The same source publishes a full chart by vegetable, so look up each one rather than guessing. Some, such as beets, are listed as “cook” rather than blanch.
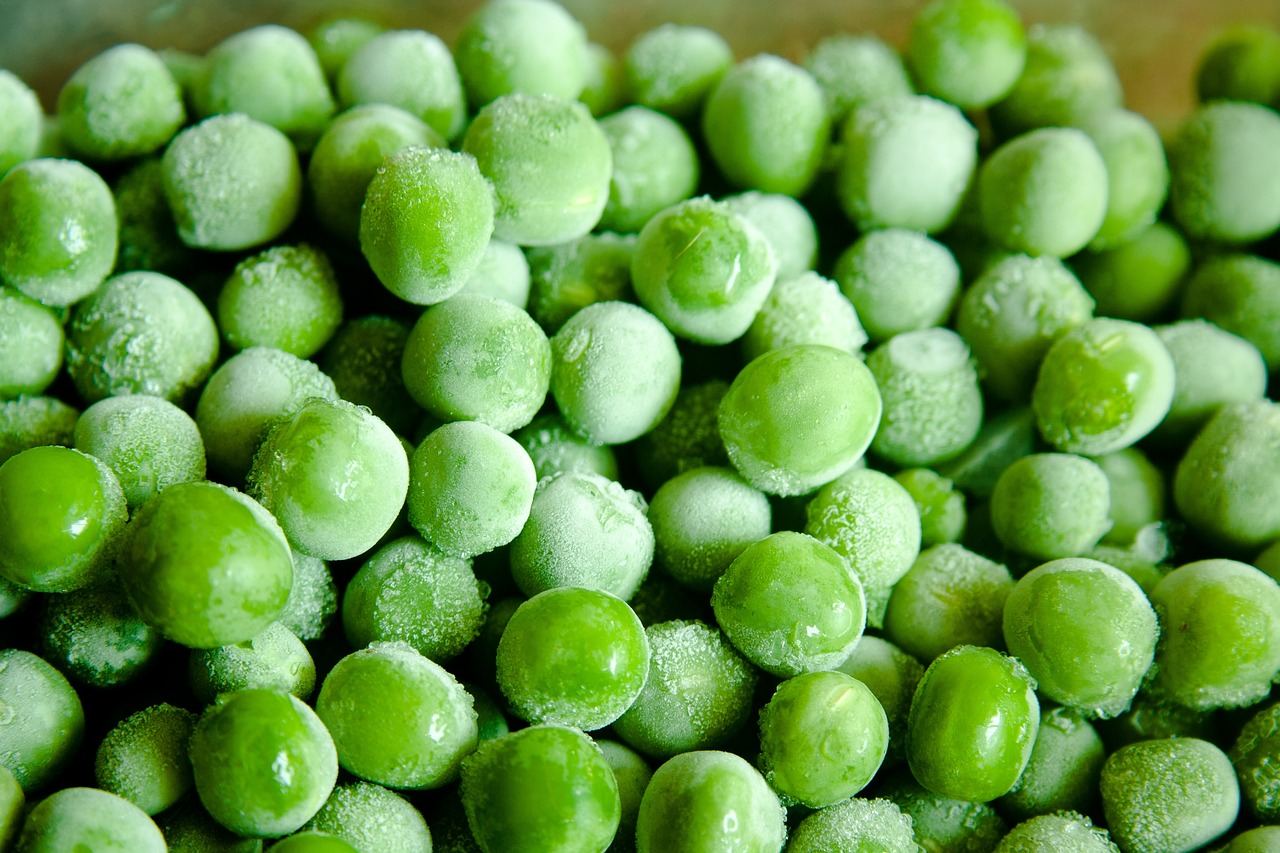
Freezing fruit and soft produce
Most fruit does not need blanching. Wash it, remove stones, stems and skins as needed, and cut it into pieces you will actually use.
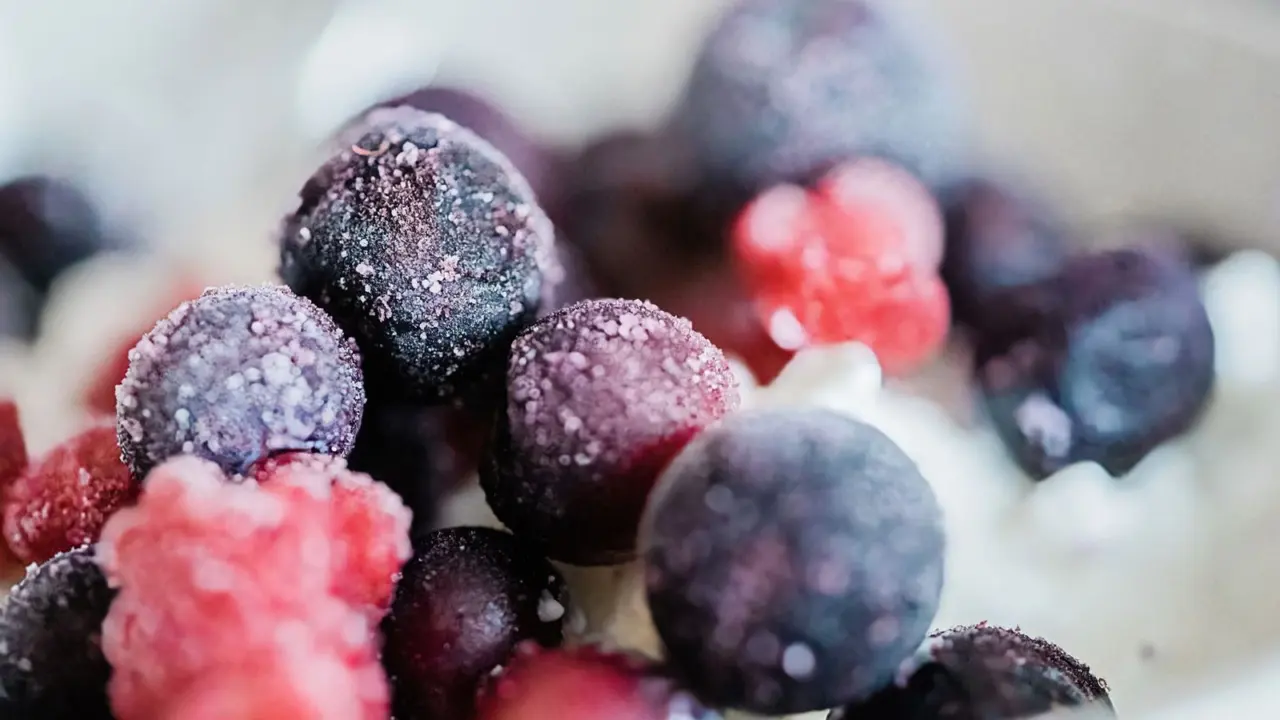
A tray freeze keeps pieces from sticking together. Spread berries or slices in a single layer on a baking sheet, freeze until solid, then tip them into a bag or container.
That way you can scoop out a handful instead of chiseling a solid block. Tomatoes, peppers and herbs also do well frozen, though they turn soft when thawed, so plan to cook with them rather than serve them raw.
Packing, temperature and avoiding freezer burn
Air is the enemy. Texas A&M AgriLife Extension explains that freezer burn happens when water molecules escape from frozen food, which lets oxygen seep in, and that the food is still safe to eat although texture and taste may differ. You can read its freezer burn sheet for the full tips.
- Keep your freezer at 0°F or lower.
- Remove as much air as possible from the packaging.
- Use small containers to minimise empty space.
- Label each pack with the contents and the date.
Utah State University Extension notes that food stored constantly at 0 °F or below will remain safe, and that holding it at that temperature also minimises the ice crystal growth caused by warming and refreezing. A freezer thermometer is a cheap way to confirm the number.
A simple routine for market day
Freezing goes smoothly when you treat it as one short session rather than a chore spread across the week. Set up before you start, and the work moves quickly.
- Clear freezer space first, and lay out bags, containers, a marker and tape.
- Put a large pot of water on to boil, and fill a big bowl with ice water.
- Prepare one kind of produce at a time, so sizes and timings stay consistent.
- Work in small batches. Too much food in the pot drops the temperature, and the blanching time then no longer matches the chart.
- Pack, label and freeze each batch straight away, rather than letting it sit on the counter.
Spread new packs out in a single layer until they are frozen, then stack them. This helps them freeze quickly, and fast freezing generally keeps a better texture.
Good candidates and tougher cases
Some produce freezes well and some does not. Firm vegetables such as green beans, asparagus and corn, and fruit such as berries, stone fruit and sliced mango, are dependable choices.
- Freezes well: berries, peas, green beans, broccoli, spinach, peppers, herbs.
- Best cooked after thawing: tomatoes, zucchini, eggplant, peaches.
- Disappointing: lettuce, cucumber and radishes, which are mostly water and go limp.
When unsure, freeze a small test pack, cook it a few weeks later, and judge the result before you commit a whole crate.
Thawing and using frozen produce
Many vegetables can go straight from the freezer into soups, stir-fries and roasting pans, which keeps them from turning mushy. Fruit is best thawed gently for smoothies, baking or sauces.
Utah State University Extension recommends refrigerator thawing at 40°F or below. For quicker thawing, use a microwave or a brief period under cold running water, then cook the food thoroughly straight away.
Use a rotation habit. Move older packs to the front and use them first, and keep a short list on the freezer door so nothing gets buried and forgotten.
Frozen produce is a tool for flexible cooking, not a replacement for fresh. Use it where texture matters less, such as soups, sauces, smoothies, curries and baking, and buy fresh again when the next season arrives.
Frequently asked questions
Do I have to blanch every vegetable?
Show answer
Blanching is a must for almost all vegetables, according to the National Center for Home Food Preservation. Some are listed as “cook” instead, and most fruit skips the step.
Can I blanch in the microwave?
Show answer
Microwave blanching may leave some enzymes active, leading to poorer flavour, colour and texture; use the recommended water or steam method for the vegetable. The National Center for Home Food Preservation says boiling water is the most satisfactory way, and steam takes about 1½ times longer.
Is freezer-burned food safe?
Show answer
Texas A&M AgriLife Extension says food with freezer burn is safe to eat, though the texture and taste may be different.
What temperature should my freezer be?
Show answer
Utah State University Extension recommends 0 degrees F for best quality, and food kept constantly at that temperature or below stays safe.